Processing multi-line items #
fzf is most commonly used to process single-line items like most other Unix
tools. But you can also use it to process multi-line items as well and fzf is
capable of properly displaying them in multi-line. To do that, you need to
feed NUL-separated list to fzf and use --read0 option because a new line
character can no longer be used to separate items.
# Many tools provide options to output NUL-separated list
find * -print0 | fzf --read0
Customizing multi-line display #
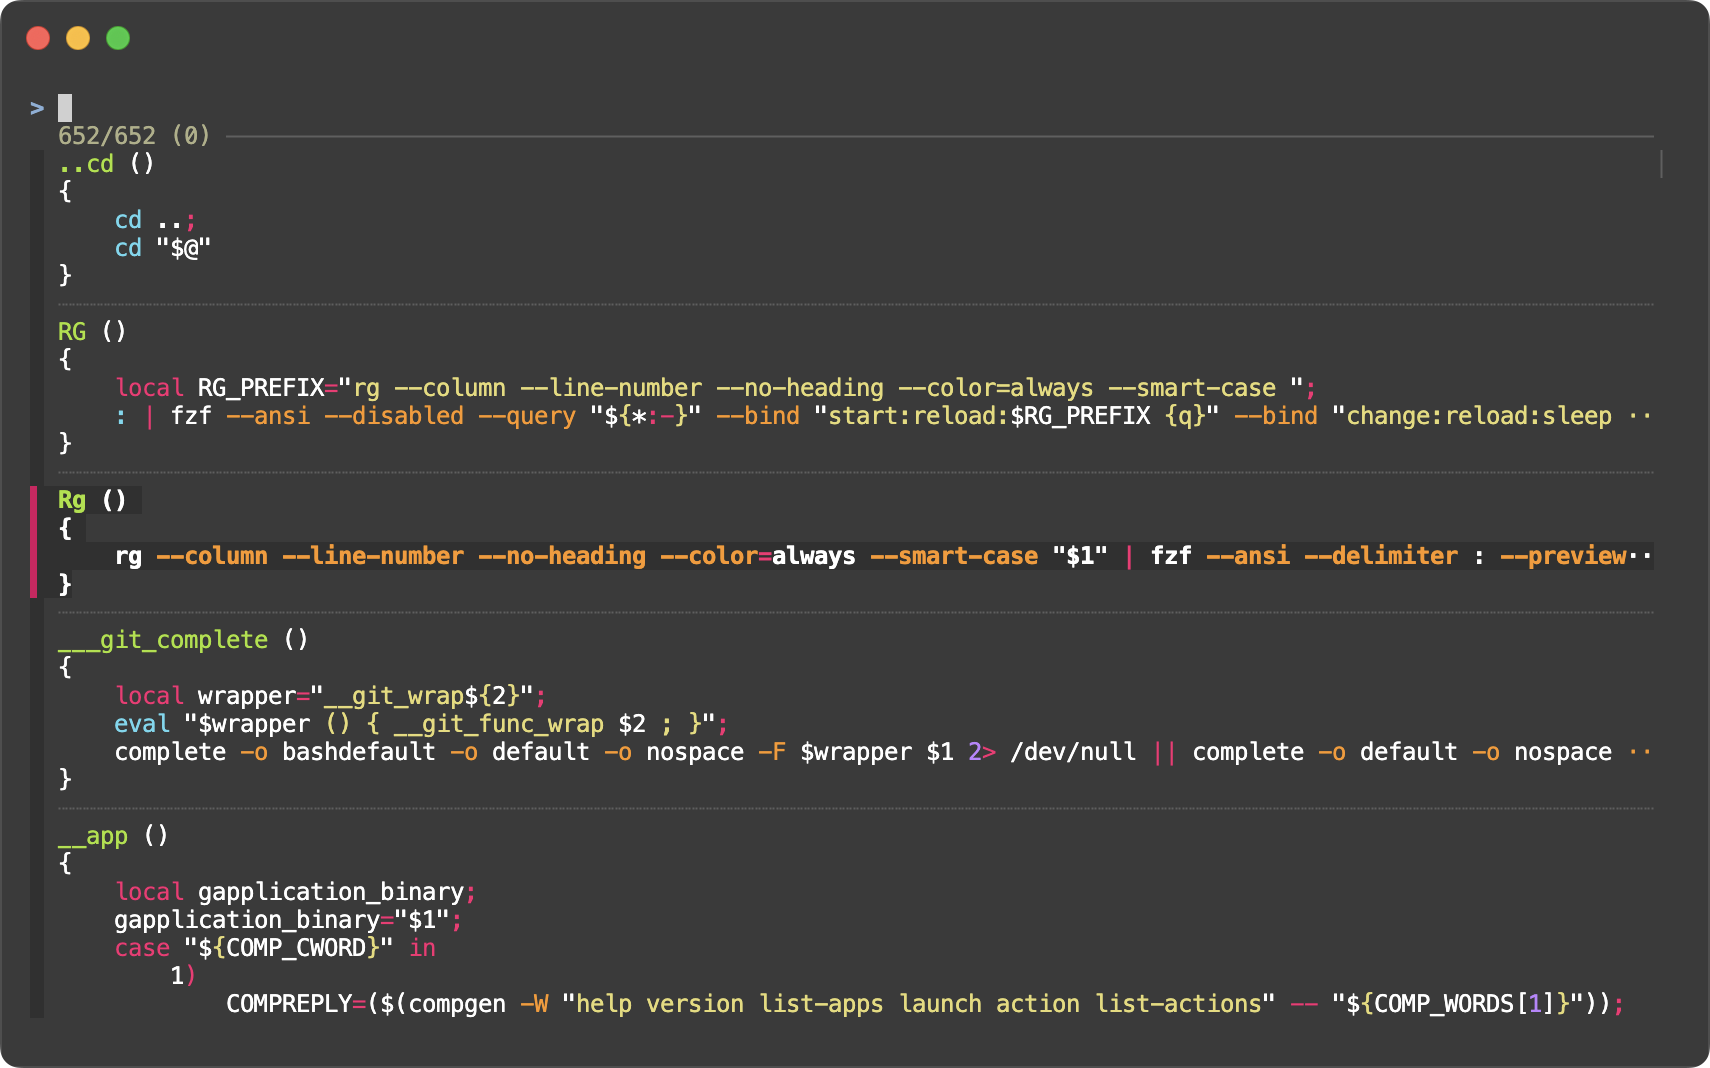
--gap
#
When working with multi-line items, it can be hard to visually separate
consecutive items. --gap option adds a blank line between items to make it
easier to distinguish them.
Without it #
With it #
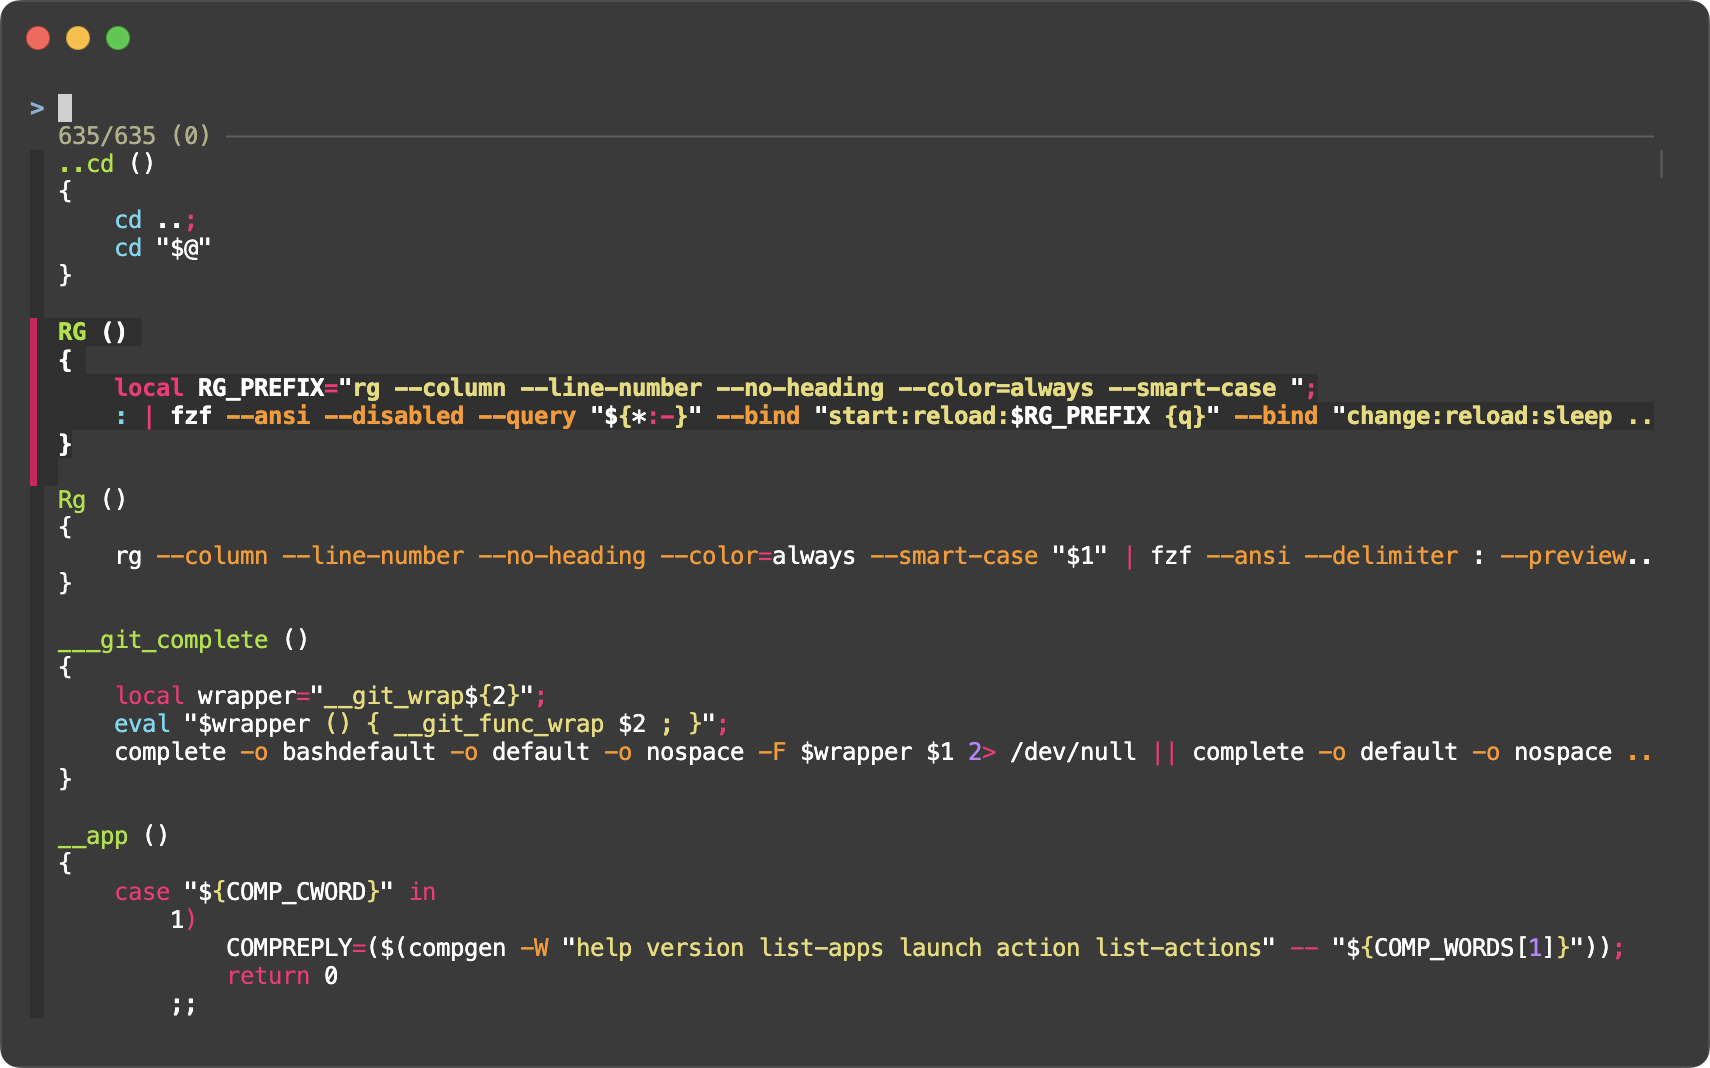
--highlight-line
#
For multi-line items, you’ll probably want --highlight-line
option to highlight the entire line instead of just the text part of each line.
Without it #
With it #

--marker-multi-line
#
In addition to --marker, there is --marker-multi-line option to customize
the “marker” signs for multi-line items. It takes three signs, first
for the first line, second for the middle lines, and third for the last line.
--marker=STR
      Multi-select marker (default: '┃' or '>' depending on --no-unicode)

--marker-multi-line=STR
      Multi-select marker for multi-line entries. 3 elements for top, middle, and bottom.
      (default: '╻┃╹' or '.|'' depending on --no-unicode)
The default for --marker-multi-line was chosen so that it’s easier to
visually separate consecutive multi-line items.
Default #
Custom marker signs #
--marker '═' --marker-multi-line '╔║╚'
Transforming single-line items to multi-line #
I find Perl most convenient for transforming single-line items to multi-line items. Here are some examples.
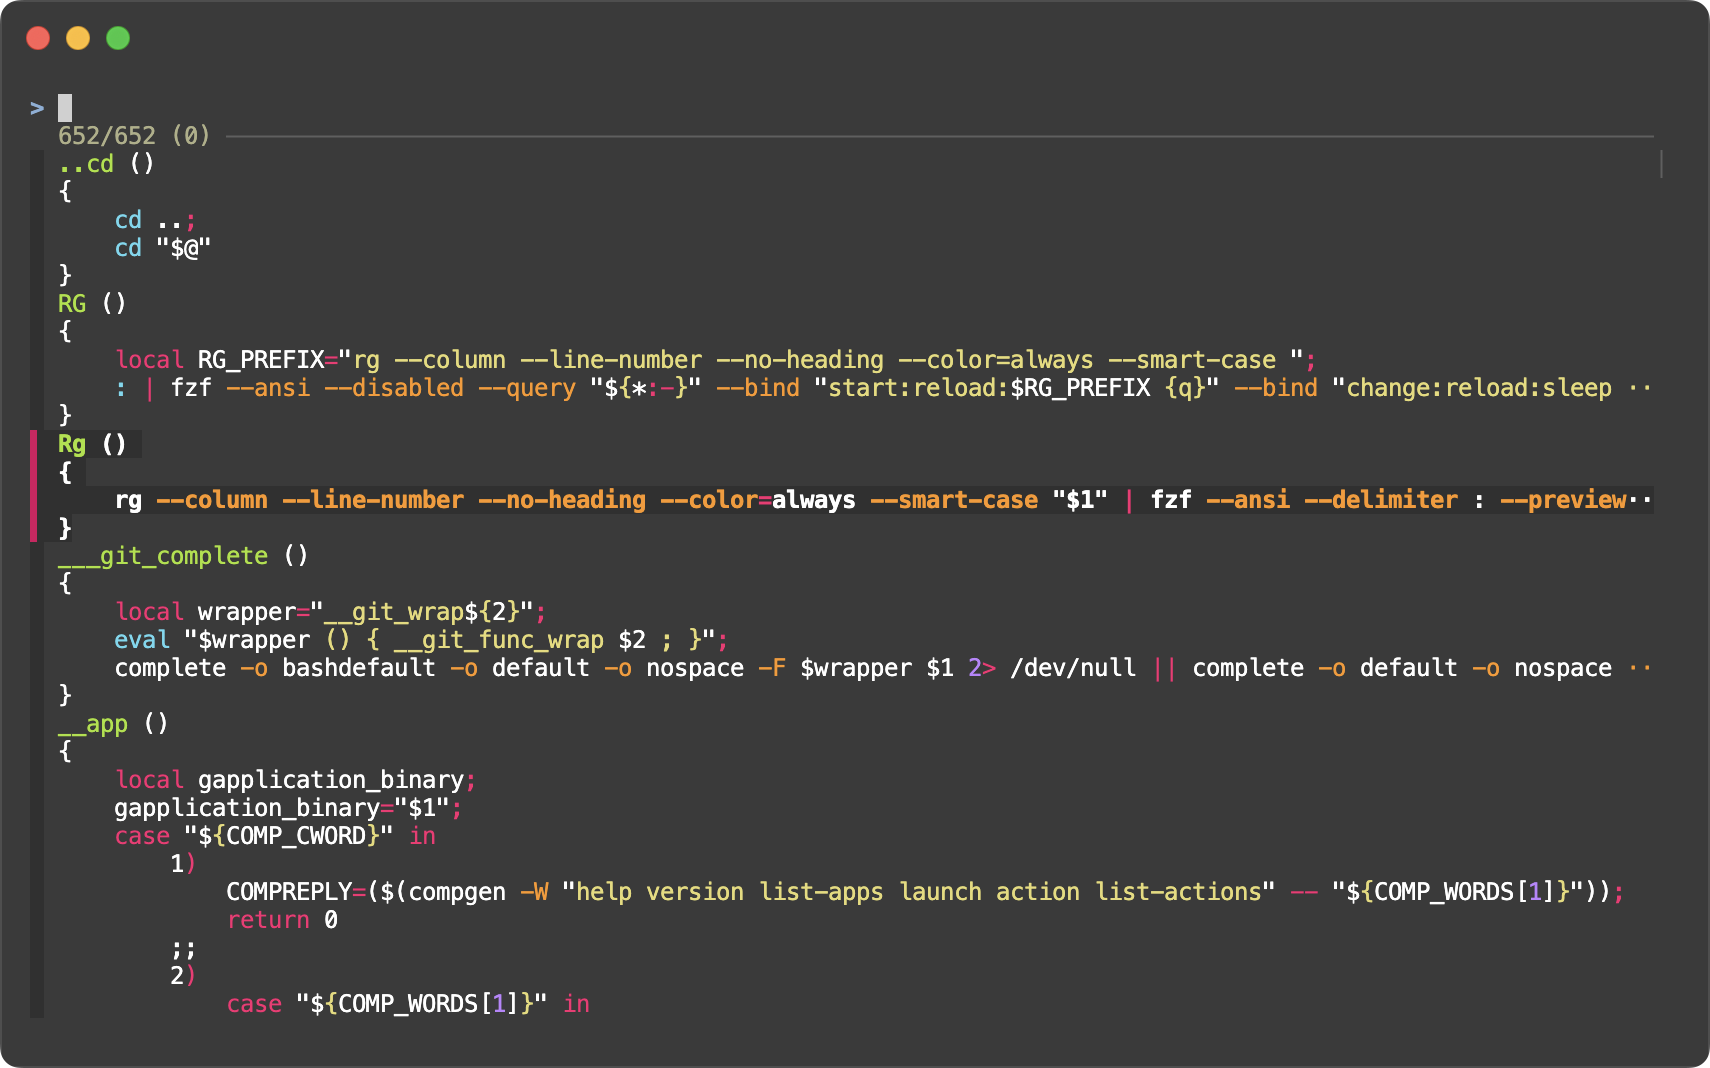
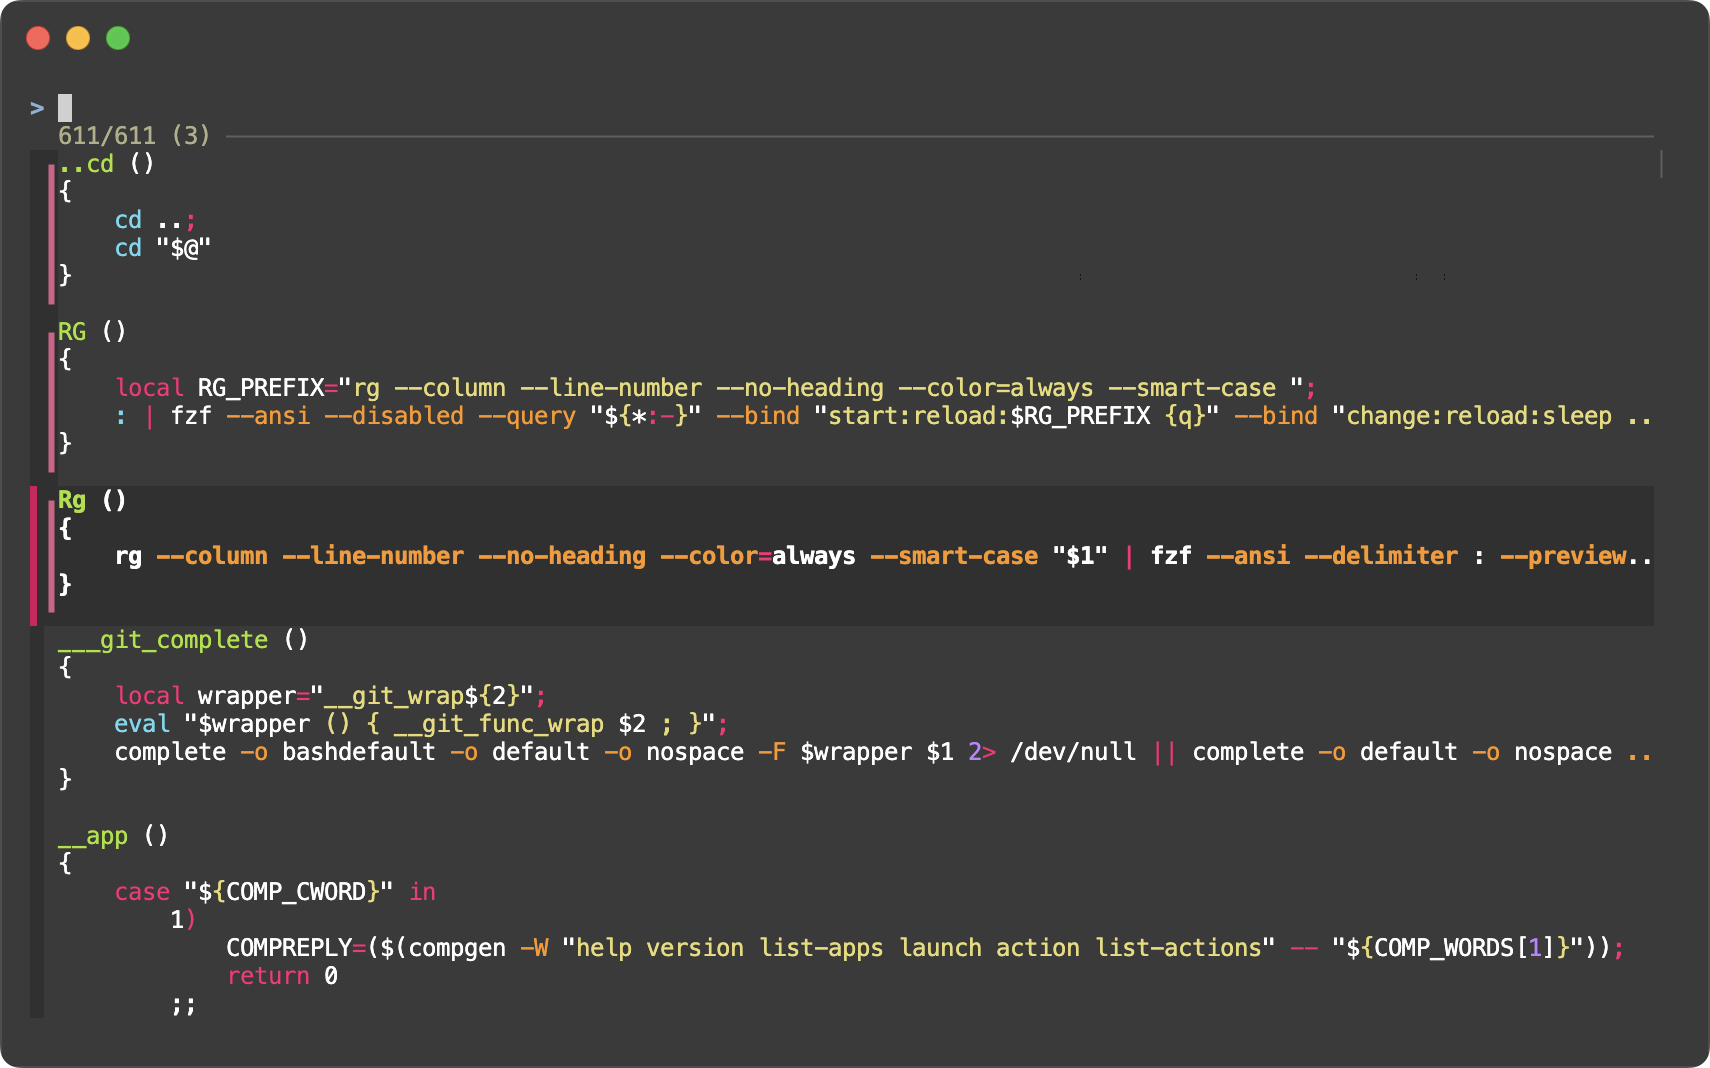
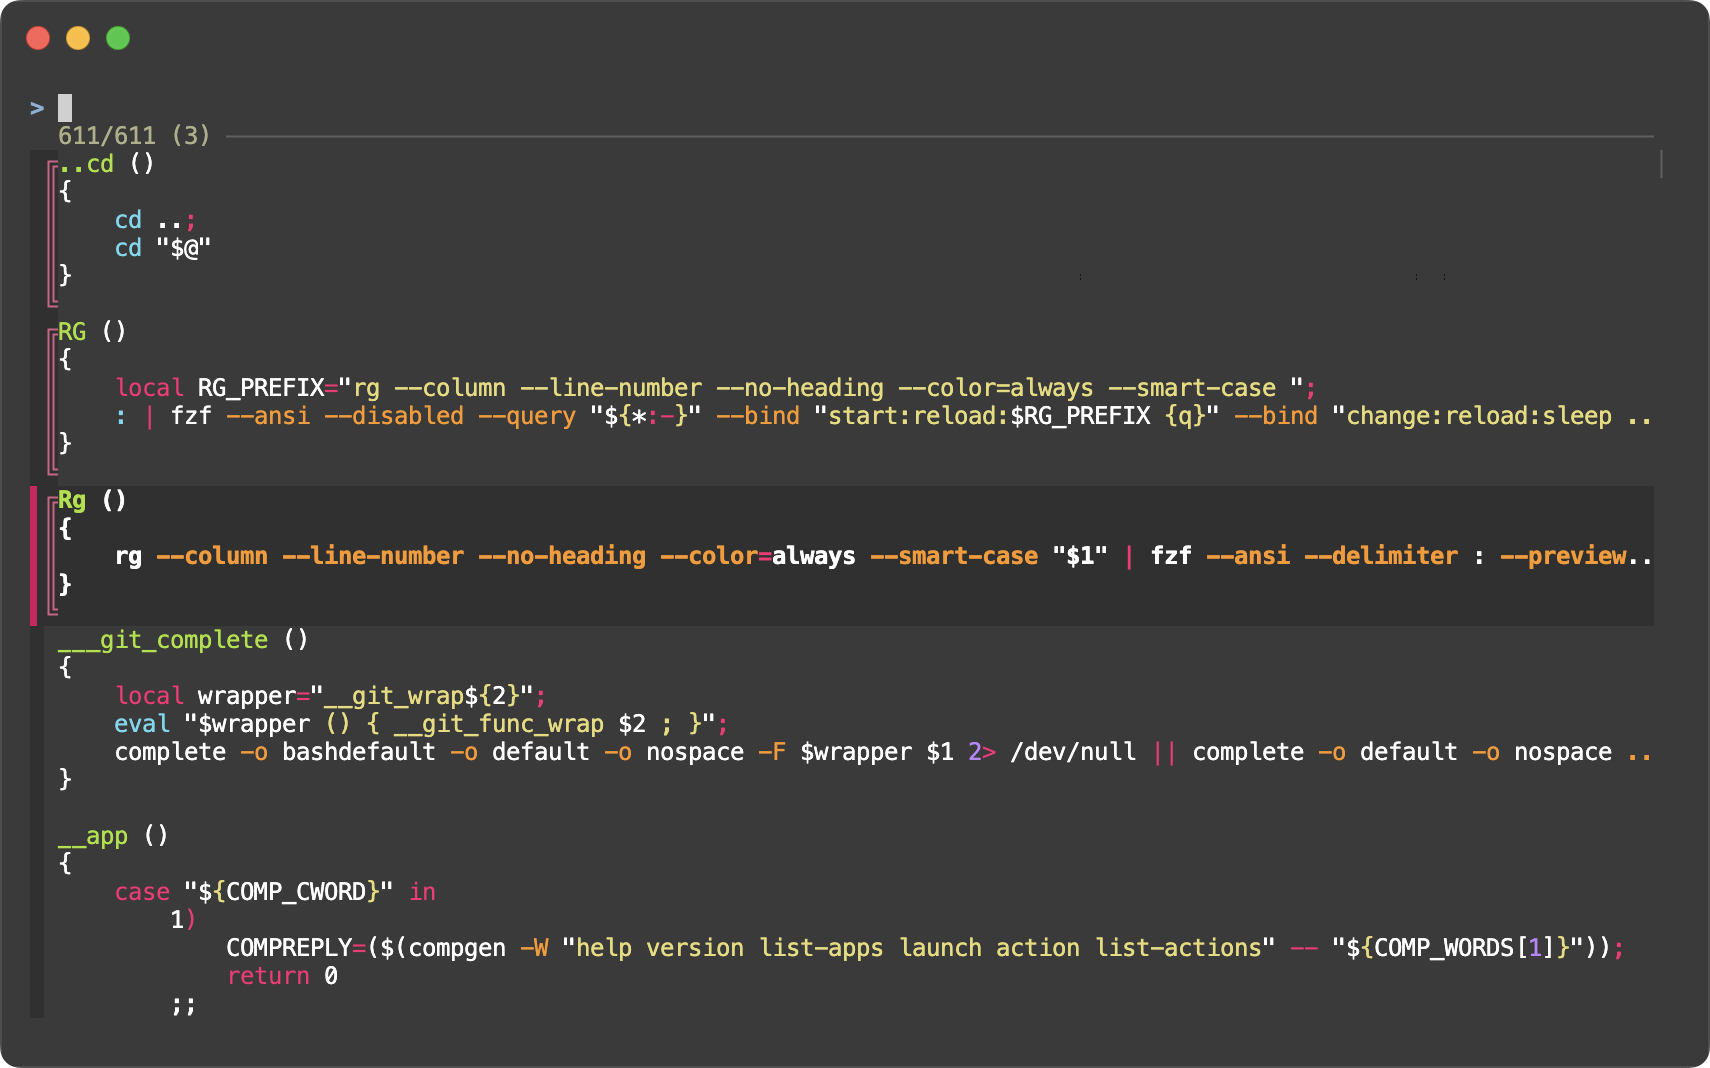
All bash/zsh functions, highlighted #
# All bash/zsh functions, highlighted
declare -f |
  perl -0 -pe 's/^}\n/}\0/gm' |
  bat --plain --language bash --color always |
  fzf --read0 --ansi --layout reverse --multi --highlight-line --gap
- Input (declare)
- List all bash/zsh functions with their definitions
- Pre-process (perl)
-0option sets the input record separator to NUL byte- Since
declare -fdoesn’t print any NUL bytes, the whole output is treated as a single record
- Since
- We inject a NUL byte after
}making the chunks NUL-separated
- Pre-process (bat)
- We use bat to syntax-highlight the functions
- Filter (fzf)
--read0to read NUL-separated list--ansito parse ANSI color codes--layout reversefor top-to-bottom layout--highlight-lineto highlight the entire line instead of just the text part--gapfor better visual separation between items
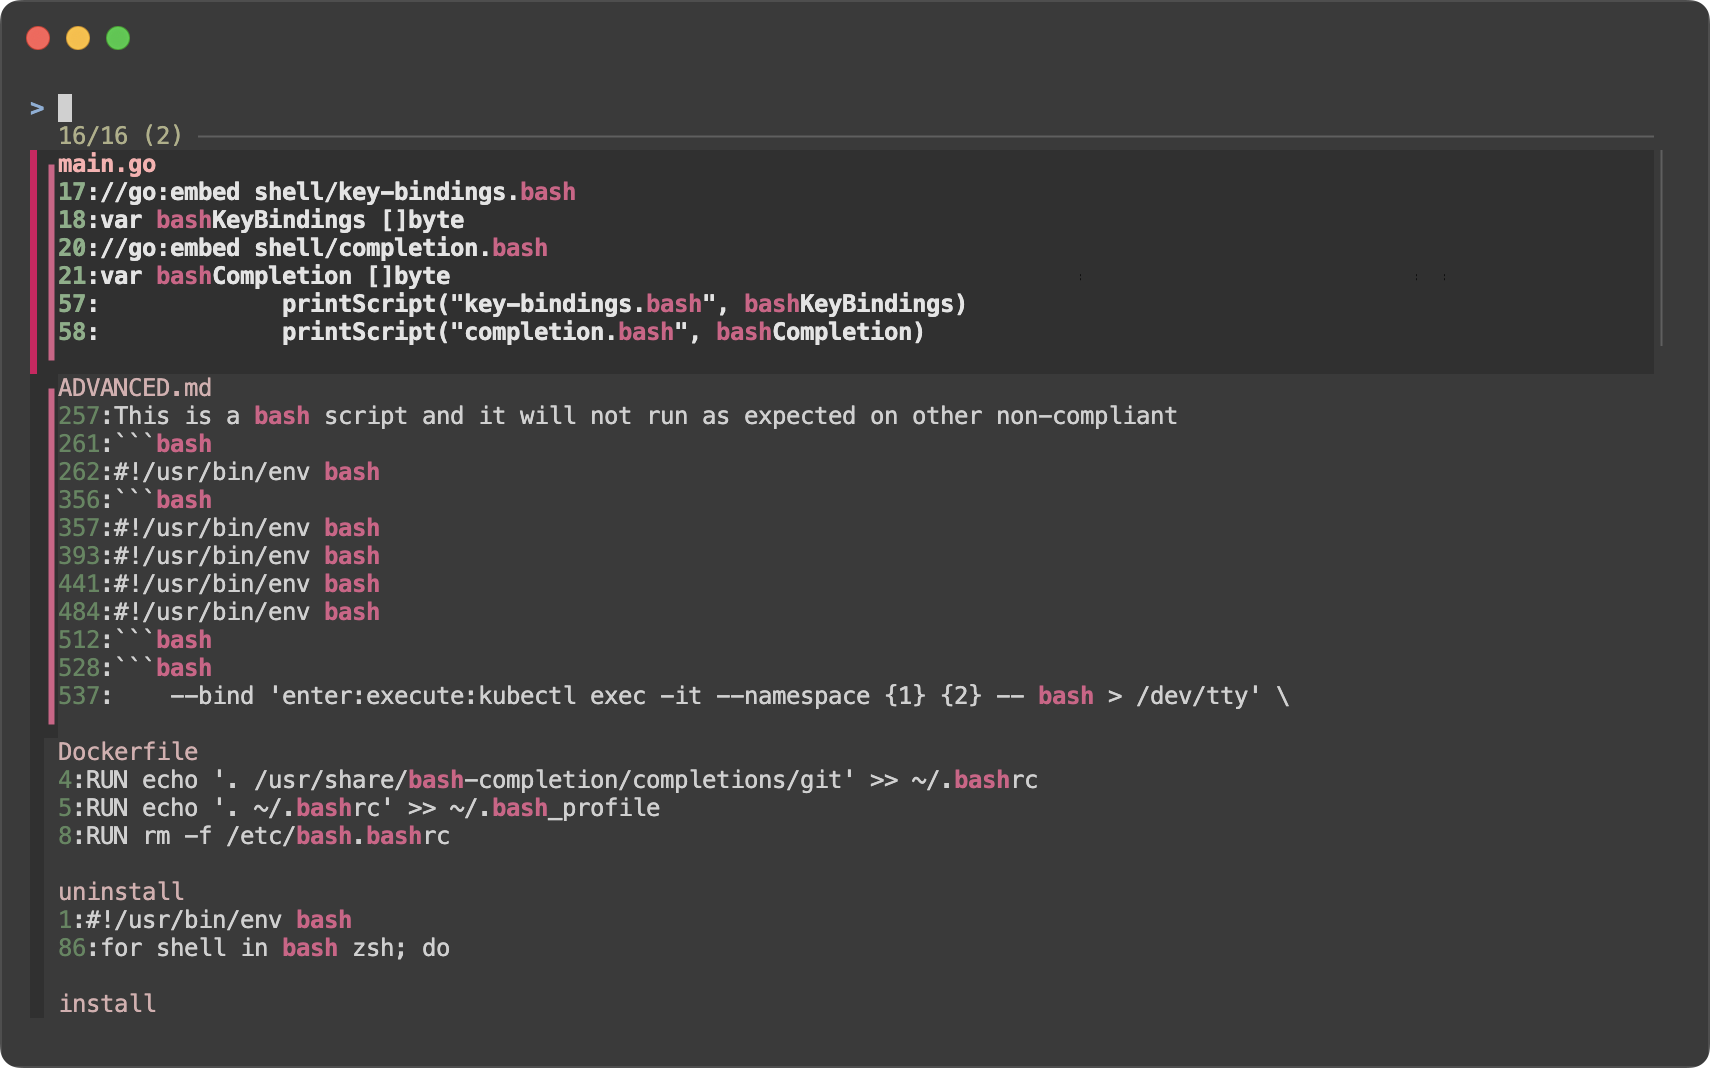
Ripgrep: multi-line chunks #
When you use ripgrep to search for a pattern, by default it prints matching files in multi-line chunks delimited by two new line characters. For fzf to recognize each chunk as a single item, we inject NUL bytes.
# Ripgrep multi-line output
rg --pretty bash |
  perl -0 -pe 's/\n\n/\0/gm' |
  fzf --read0 --ansi --multi --highlight-line --layout reverse --gap |
  perl -ne '/^([0-9]+:|$)/ or print'
- Input (rg)
--prettyoption for colored, multi-line output
- Pre-process (perl)
-0option to treated the input as a single record- With
s/\n\n/\0/gm, we replace two new line characters with a NUL byte.
- Filter (fzf)
--read0required for NUL-separated input--ansito parse ANSI color codes--multito allow selecting multiple items--highlight-lineto highlight the entire line instead of just the text part--gapfor better visual separation between items--layout reversefor top-to-bottom layout
- Post-process (perl)
- We only keep the lines showing the path by filtering out the other parts.
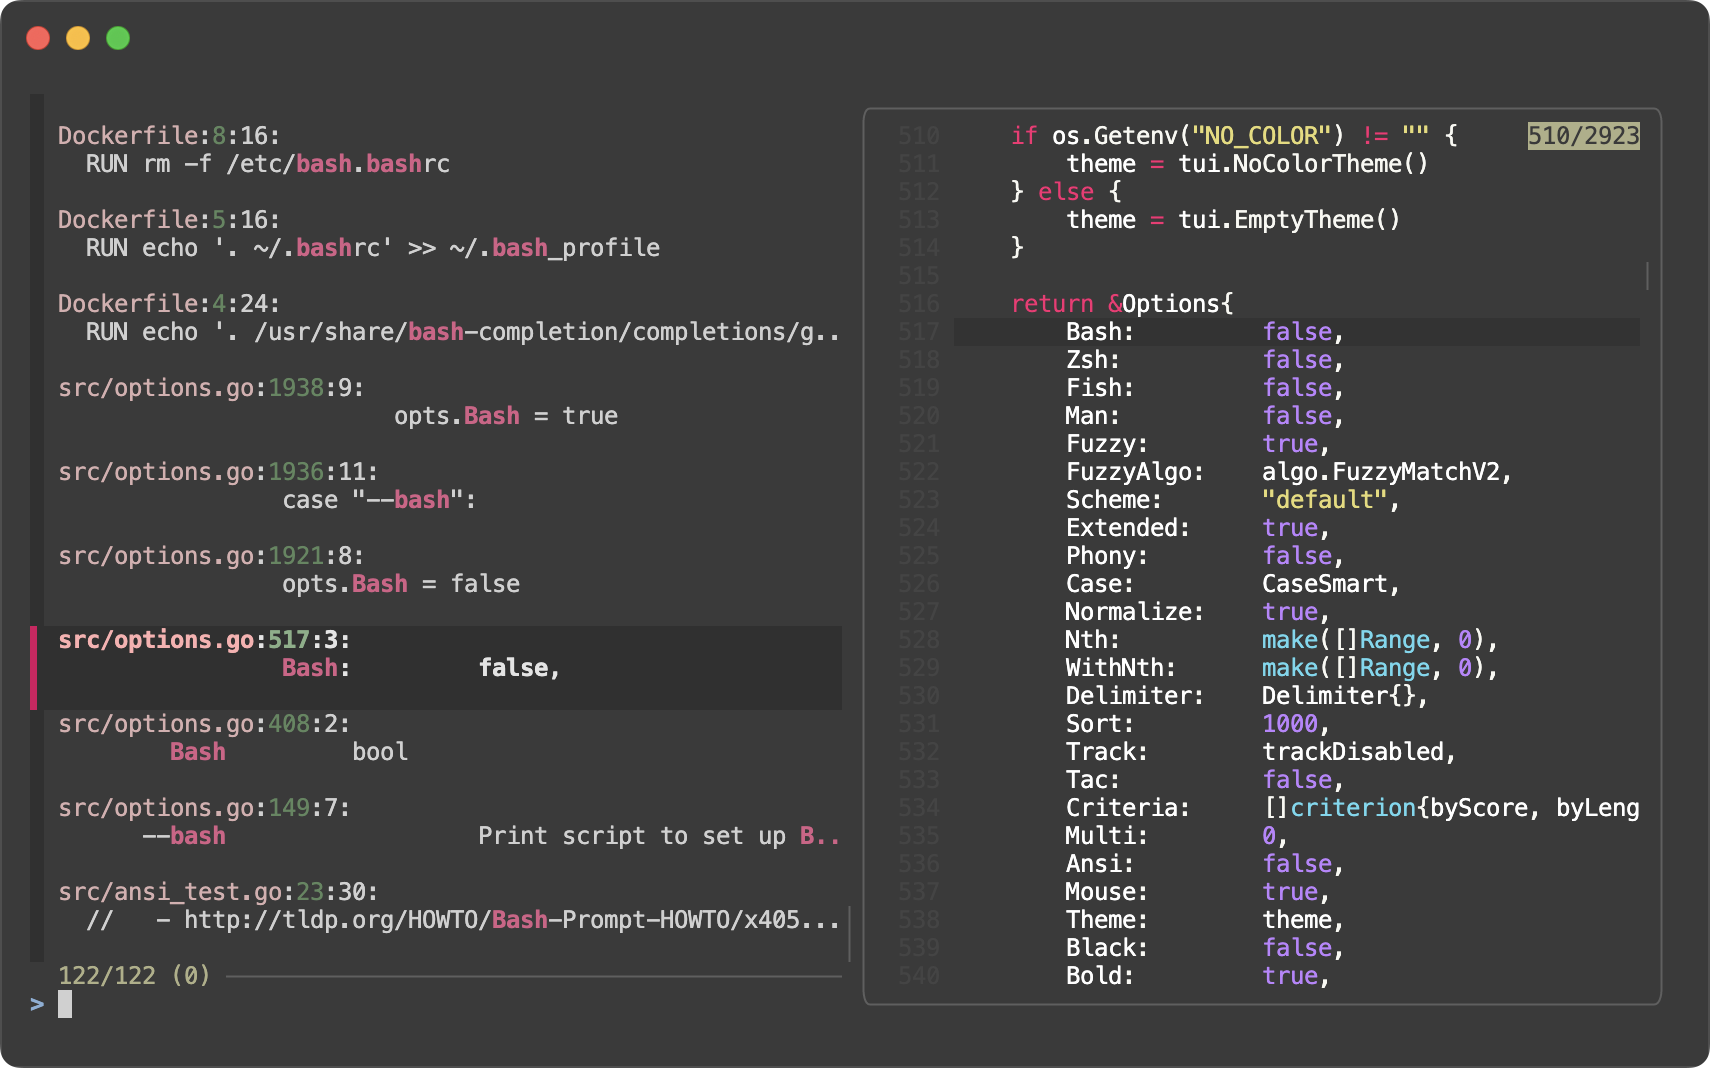
Ripgrep: path on a separate line #
In this ripgrep example, instead of treating each multi-line chunk as a single item, we treat each matching line as a single item as we normally do. But we print the path and the line number on a separate line, so that the output is more readable on narrow screens, especially when preview window is enabled.
rg --column --line-number --no-heading --color=always --smart-case -- bash |
  perl -pe 's/\n/\0/; s/^([^:]+:){3}/$&\n  /' |
  fzf --read0 --ansi --highlight-line --multi --delimiter : \
      --preview 'bat --style=numbers --color=always --highlight-line {2} {1}' \
      --preview-window '+{2}/4' --gap |
  perl -ne '/^([^:]+:){3}/ and print'
- Input (rg)
- First we use
rgto search for the keywordbashin the current directory
- First we use
- Pre-process (perl)
- Then use Perl to replace new line characters with a NUL byte, then
inject a new line character after
PATH:LINE:COL:part. The matching line is indented by two spaces.
- Then use Perl to replace new line characters with a NUL byte, then
inject a new line character after
- Filter (fzf)
- In addition to the usual
--read0and--highlight-line, we also set up preview window to show the matching line in the file in the preview window on the right. Since we specified--delimiter :, we can refer to the path and the line number with{1}and{2}respectively. --preview-window '+{2}/4'specifies the scroll offset of the preview window.+{2}means that the offset should be set according to the second token in the item, which is the line number./4means that the offset is adjusted so that the line is shown at the 1/4th of the preview window.
- In addition to the usual
- Post-process (perl)
- We only keep the
PATH:LINE:COL:lines from the output
- We only keep the